The few steps described in this section provide a quick introduction to using RhinoCityTM .
They are intentionally kept brief so that you can start using the program as quickly as possible to produce a 3D city model and texturate it.
The objective is not to teach you every single detail but to familiarize you with the basic principles and the way the program works.
The dataset used by this introduction can downloaded here :
|
Some configuration files used by this dataset contains path information : in particular the '.prjt' file. When unzipped and in order to be used without having to change any path, all the content of this archive must be in this folder : C:\RhinoCity\Samples\QuickStart |
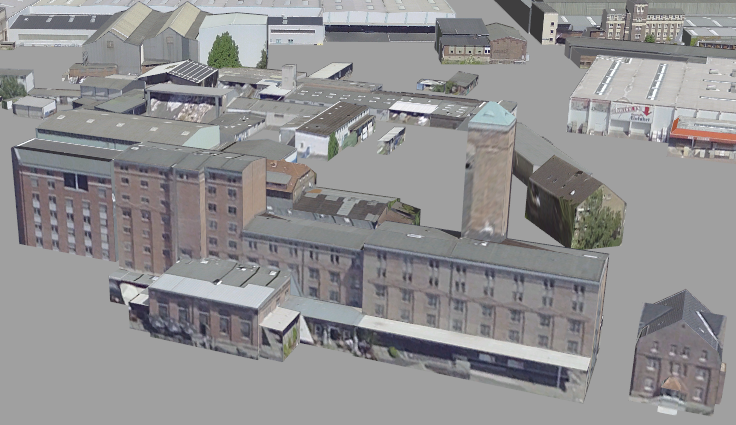
With this dataset, you will produce the texturated 3D city model shown below as well as export it as a CityGML file.

video : from ShapeFiles to 3D texturated model
Step 1 : Load "Buildings" and "Roofs"
Start Rhinoceros© and open the file RhinoCityQuickStart.3dm located in the folder C:\RhinoCity\Samples\QuickStart
This file contains only one layer named "TIN Relief" as shown below.
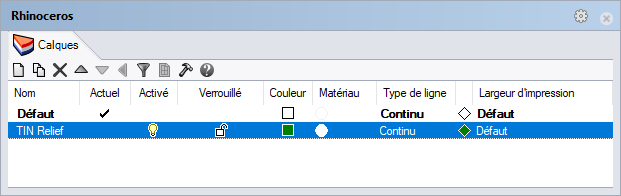
![]()
Using the command "RhinoDBShapefileImport" described here, load the 2 ShapeFiles located in the folder C:\RhinoCity\Samples\QuickStart\ShapeFiles
oQuickStart_Building.shp : this file contains the building footprints
oQuickStart_Roofprint.shp : this file contains the roofprints
After having been imported, your drawing contains 2 new important layers, QuickStart_Building and QuickStart_Roofprint. Those two layers are associated to 2 feature classes and the objects they contains have some attributes, as defined in the ShapeFiles they are coming from.
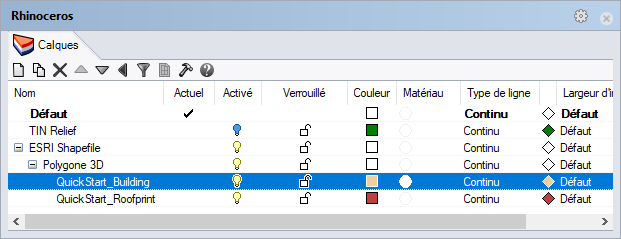
To discover feature class, attributes and their management, please read the RhinoTerrainDB chapter "Feature class management".
Step 2 : Create the 3D model
Start the command "RcBuildingModeler".
Using the command options in the command line, click "Building" to select the layer containing the building footprints : QuickStartBuilding.
Click [Return].
At the end of the process, the 3D buildings are created, as shown below in the "render" mode.
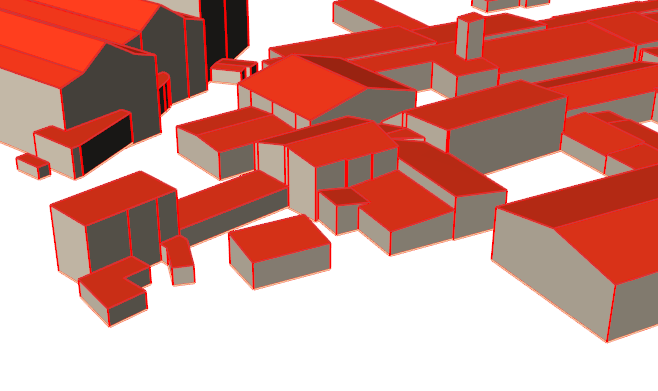
During this process, the CityGML informations have been created too.
You can see those "geometric" information stored as new layers under the main one named "CityGML cityObjectMember"
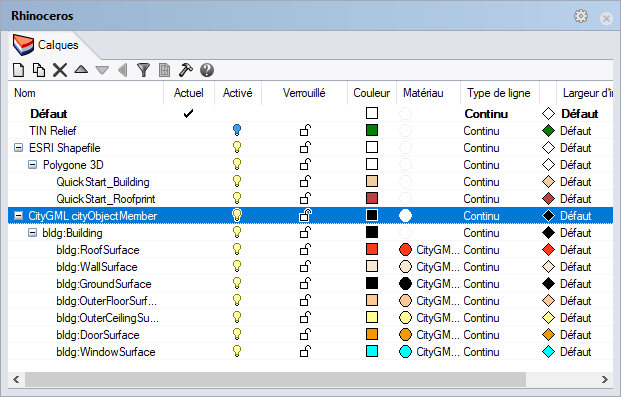
![]()
You can also see those CityGML information in the CityGML panel as described here.
Step 3 : Texturating
Start the command "RcTextureSmartTexturing"
Select all buildings and then click [Return].
Using the command options in the command line, click "ProjectFile" to select the project file (.prjt) :
C:\RhinoCity\Samples\QuickStart\Config\QuickStart.prjt
Project .prjt file format is described here.
Click [Return].
When done, in render mode, your 3D city texturated model is ready !